Most of the samples are collected from the horticulture garden right behind Borlaug center.

Sample #1 is from Sun Flower.

Sample #2 is from Peper.

Sample #3 is from Sweet Basil.

Sample #4 is from Petunia.

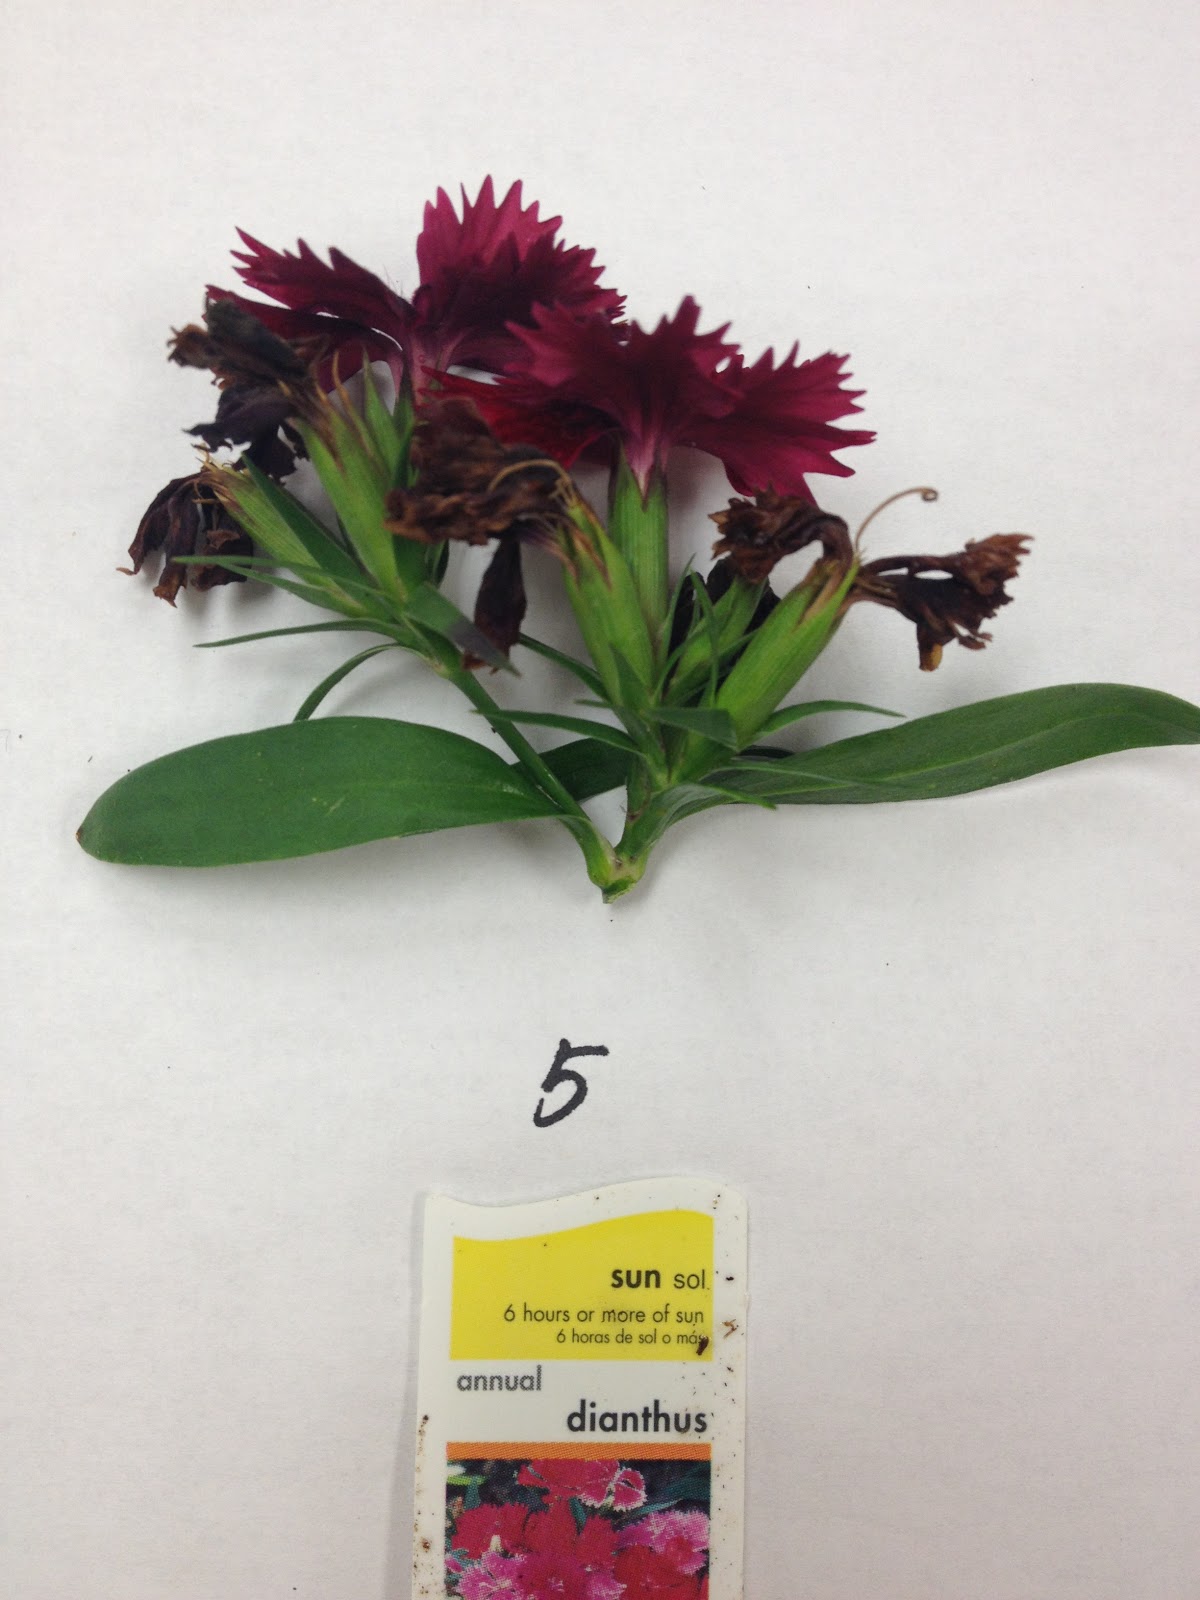
Sample #5 is Dianthus.

Sample #6 is Ficus.

Sample #7 Oak tree.

Sample #8 Pig Weed.

Sample #9 is Aloe.

Sample #10 is Morning Glory.

Sample #11 is Bay Laurel.

Sample #12 is Canna lily.

Sample #13 is from Indian Hawthron.

Sample #14 is from dirty water.

Sample #15 is from Bradford Pear tree.
All samples are put in a moiture bag and keep at 28 degree for fungi sporulation
Week 2 Pull samples out for plating.

#1

#2

#3

#4
#5

#6

#7

#8

#9

#10

#11

#12

#13

#14

#15
Lesions with spores are cut out of each sample leaves. Leaf pieces are sterilized with 75% ethonal for 2 minutes and rinsed with autoclaved water.

Samples are placed on PDA plate on multiple spots.

Week 3: All plates are incubated at 28 degree incubator for a week to grow.

Week 4 When fungi colonies grow up, subculture is conducted for a pure culture.
Week 5-6 Incubate the subculture plates under light for two weeks to get sporulation.
Week 7 Microscope observation for spores morphology.
Unknow I: Dendrophoma from sample #15

•Light color mycelium.
•The distinct
character: produce lemon yellow pigment after 5 days of growth.


A matured fruiting body is picked out under dissecting scope. Crush it out by light tap. Ascospores are slowly released out like oozing through the very distinct v neck opening.


The fruiting body opening structure and ascospores shape match the textbook drawing of dendrophoma. In addition, this fungus has the very distinct lemon yellow pigmentation on the surface of mycelium. All these evidence helps me to identify this unknown fungus is dendrophoma.
Unknown II: Nigrospora from sample #7

Nigrospora are very
characteristic. It is very easy to identify under the microscope by its
unicellular, black, ovoid flattened asexual spores. Other defining
characteristics are the presence of colorless to brown reproductive hyphae or
conidiophores, which produce swollen, flask-shaped spore-bearing
cells with a single spore conidium at the inflated apex. In culture, Nigrospora species grow rapidly, producing at first a white,
cottony mycelium that becomes progressively darker to gray or black as more and
more spores are formed.
Unknown III: Sporothrix schenckii is from a contaminated plate
The yellow colony is where the pathogen isolated from.

Very distinct colony morphology with finely wrinkled
surface
The colony color is white
initially and becomes cream to dark brown in time.

- One cell conidia
- Hyphae branch out at certain angle.
- Conidia cluster together form a flower shape.
- This pathogen can be found environmentally.
- Dimorphism: (>37C) express itself as a round cell yeast(<37c ) as a filamentous fungusThis is a human pathogen cause rose picker's disease.Unknown IV is from sample #3
 This fungi has very distinct conidiaphore, but I am not be able to identify what it is.Unknow V: Didymaria is also from sample #3
 This fungi has very distinct two type of spores. One type is a single cell. The other one is two cells. But, unfortunately, I forgot to take the microscope pictures and can't find the fungus later.
Discussion:
This is a very good learning experience. I learn more about fungi, plants and plant disease through sample collection, pathogen isolation and identification. I learn how to break down the fungi from phylum to species by looking at the colony morphology and spores characteristic, although it's painful to figure out what I really have at the beginning. I still have fun with it. This project not only help us to practice what we learn from the lab class, but also provide us chance to apply the knowledge we learn from lectures into practice.
I also want to give my sincere appreciation to my teammates Shan and Wenwei, the great team work makes this project perfect. It's a really long journey but it's great!


